Test Assembly of All The Copper Boiler Parts
The boiler is assembled as if for silver soldering to check fit, alignment etc.
Superglue is used liberally to hold the parts while they are drilled 1/16″ and 1/16″ diameter rivets pushed into place the rivets were not superglues because they would all have to out again as the boiler is dismantled.
A start was made by securing the copper strips that will support the Throatplate and end of the boiler and also close the gaps that were reported on the questions page.
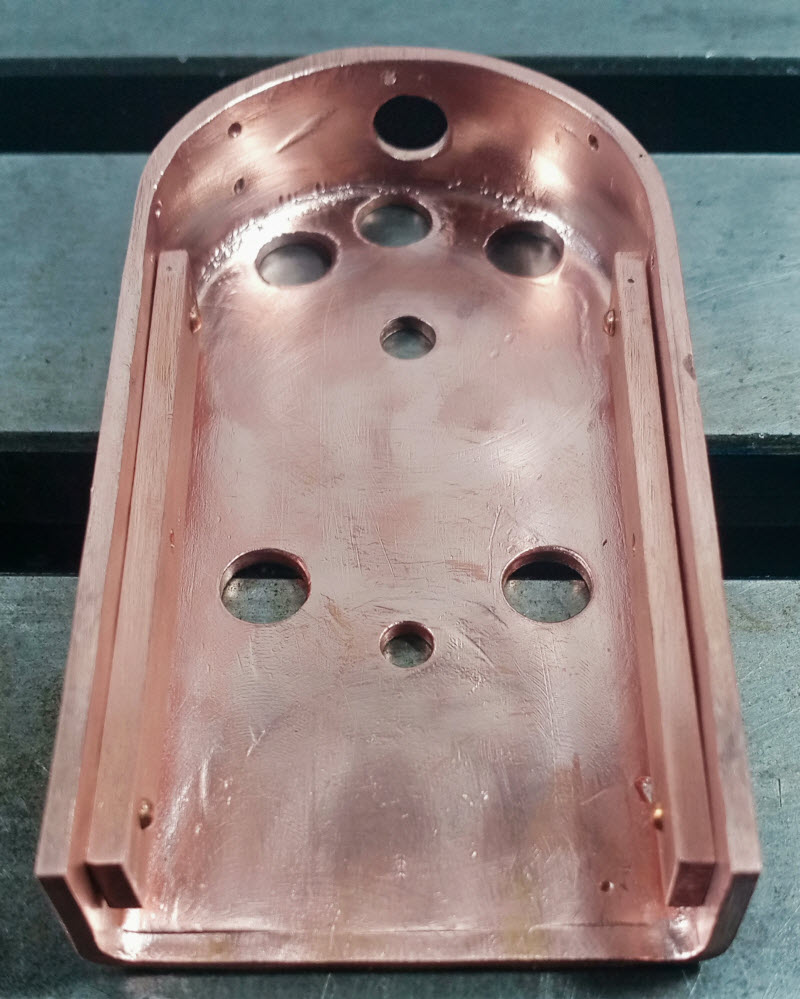
Backhead With Throatplate Support Strips 01
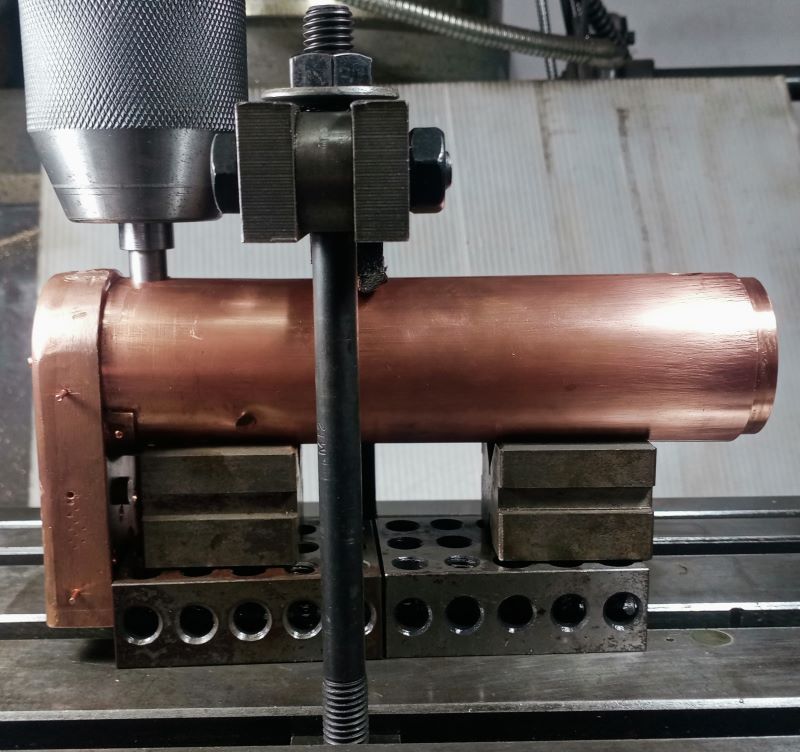
Next, the Throatplate and boiler was added and carefully squared up. The mill drill chuck was used to push the parts into close contact.
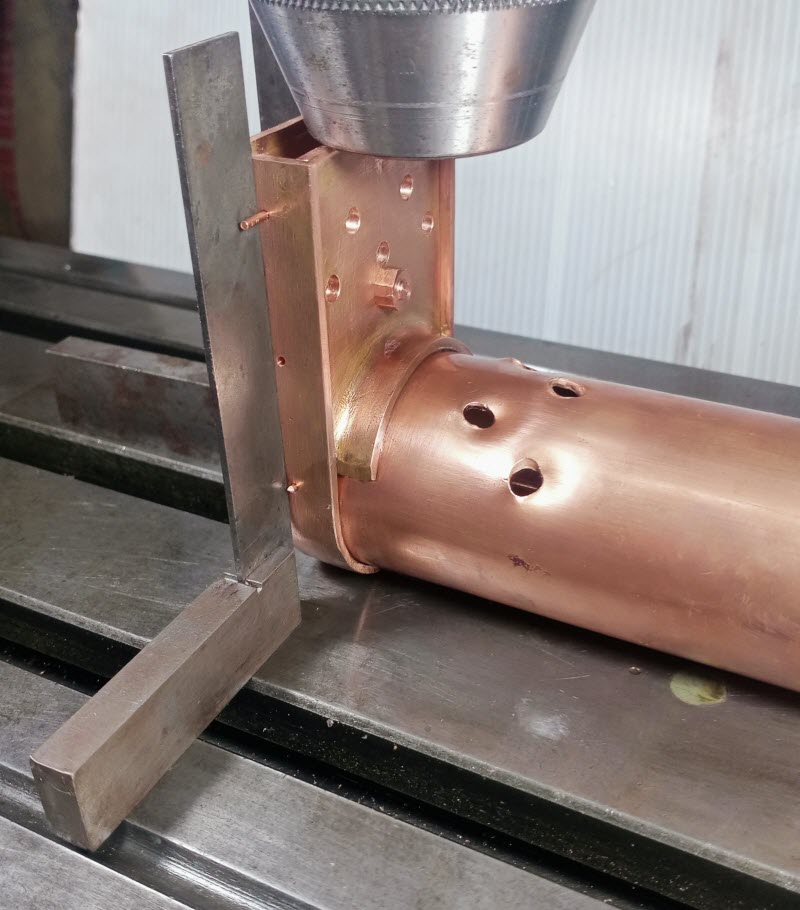
Backhead With Throatplate and Boiler
Using feeler gauges, the gap between the Throatplate and boiler was determined to be between .002″ and .004″ – ideal for silver soldering:-
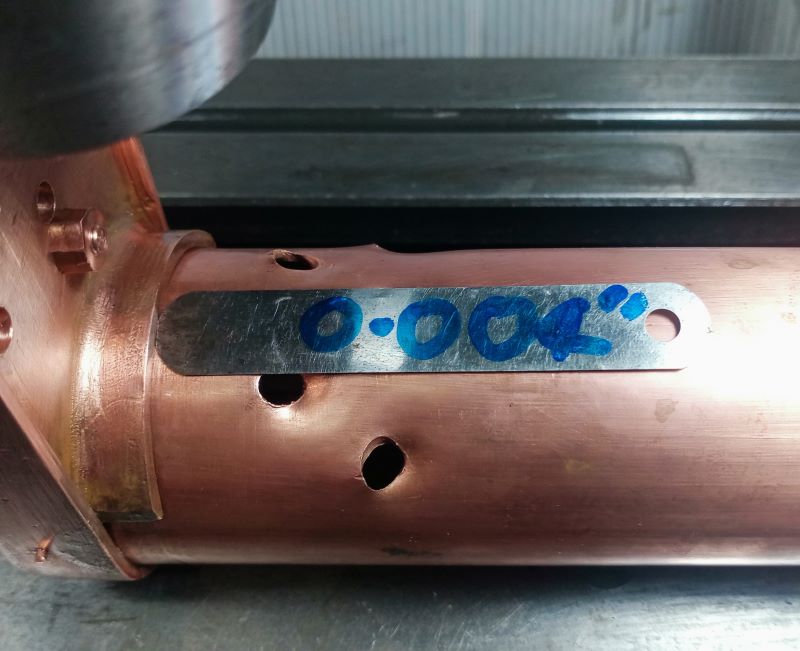
Clearance Throatplate to Boiler

Showing 1/16″ Rivets Going In
And so the assembly continued, always checking squareness and adding rivets.
Checking Boiler Shell Squareness
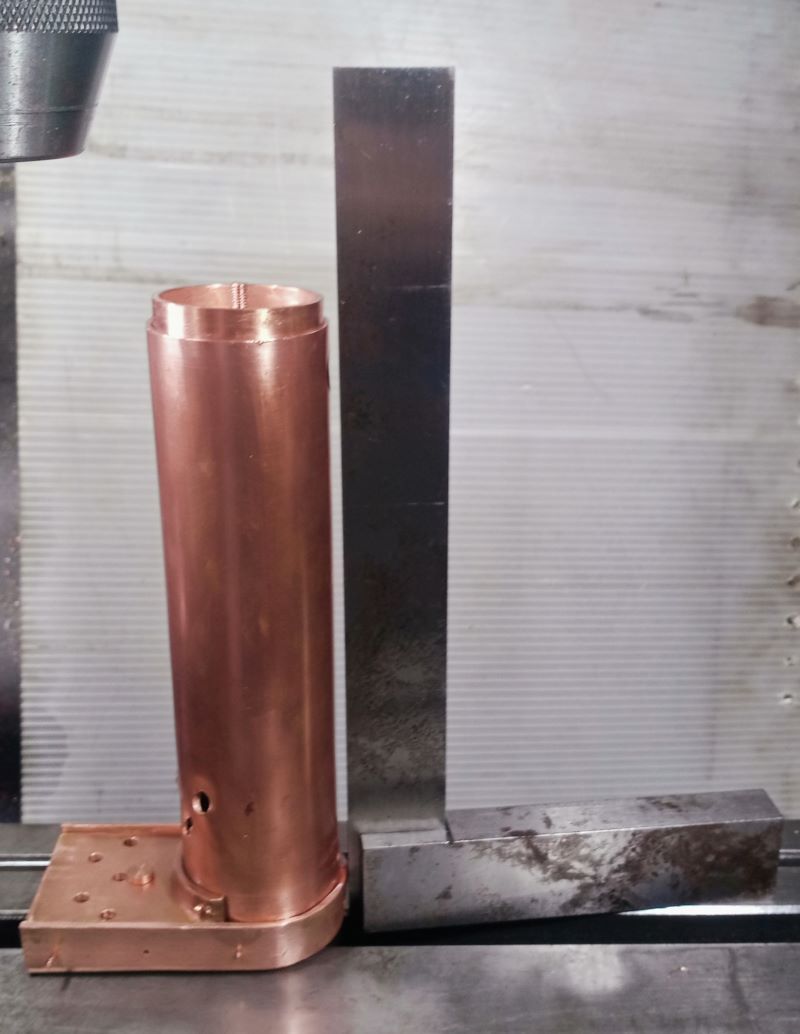
A plug turned to fit the Safety Valve bush opening was used to align the boiler square with the sides of the Backplate.
Using Plug To Align Boiler Shell