Painted Valve Motion Parts
As Machined Finish of Gauge 1 LMS 2F Tank Loco Valve Gear
Why Paint Valve Gear Motion Parts?
Surely nothing looks better than well finished bright steel valve gear motion turning and flashing in the sunshine?
Yes, that’s true but here unprotected steel parts will rust over in hours – never mind days.
So what are the options? I have tried oil. I have tried special anti-corrosion sprays.
They work for a while but the effectiveness soon wears off and the oily nature of these coatings attract dirt.
A friend of mine, George, – who has several models featured on this website – recommends Vaseline. I don’t doubt it’s a good solution.
But there’s a snag. The tiny fasteners of about 1/16″ diameter (10BA actually) used to pin the various valve gear motion parts need some kind of locking mechanism to prevent them from unscrewing. In larger scales you could simply use a locking nut, but at Gauge 1, 1/8″ or 10mm to the foot scale, there simply isn’t enough room.
So a locking type adhesive is called for. I opted for Loctite 222, the weakest threadlocker I could find. the problem is that if you grease up (spray or Vaseline) the parts before assembly some of that grease/oil is going to go onto the very part you want to Loctite. Then your Loctite won’t work.
So the only option that I can come up with (please tell me if you have better ideas) is to paint the parts, assemble them dry, apply the Loctite, then when the Loctite has set, oil the bearing surfaces.
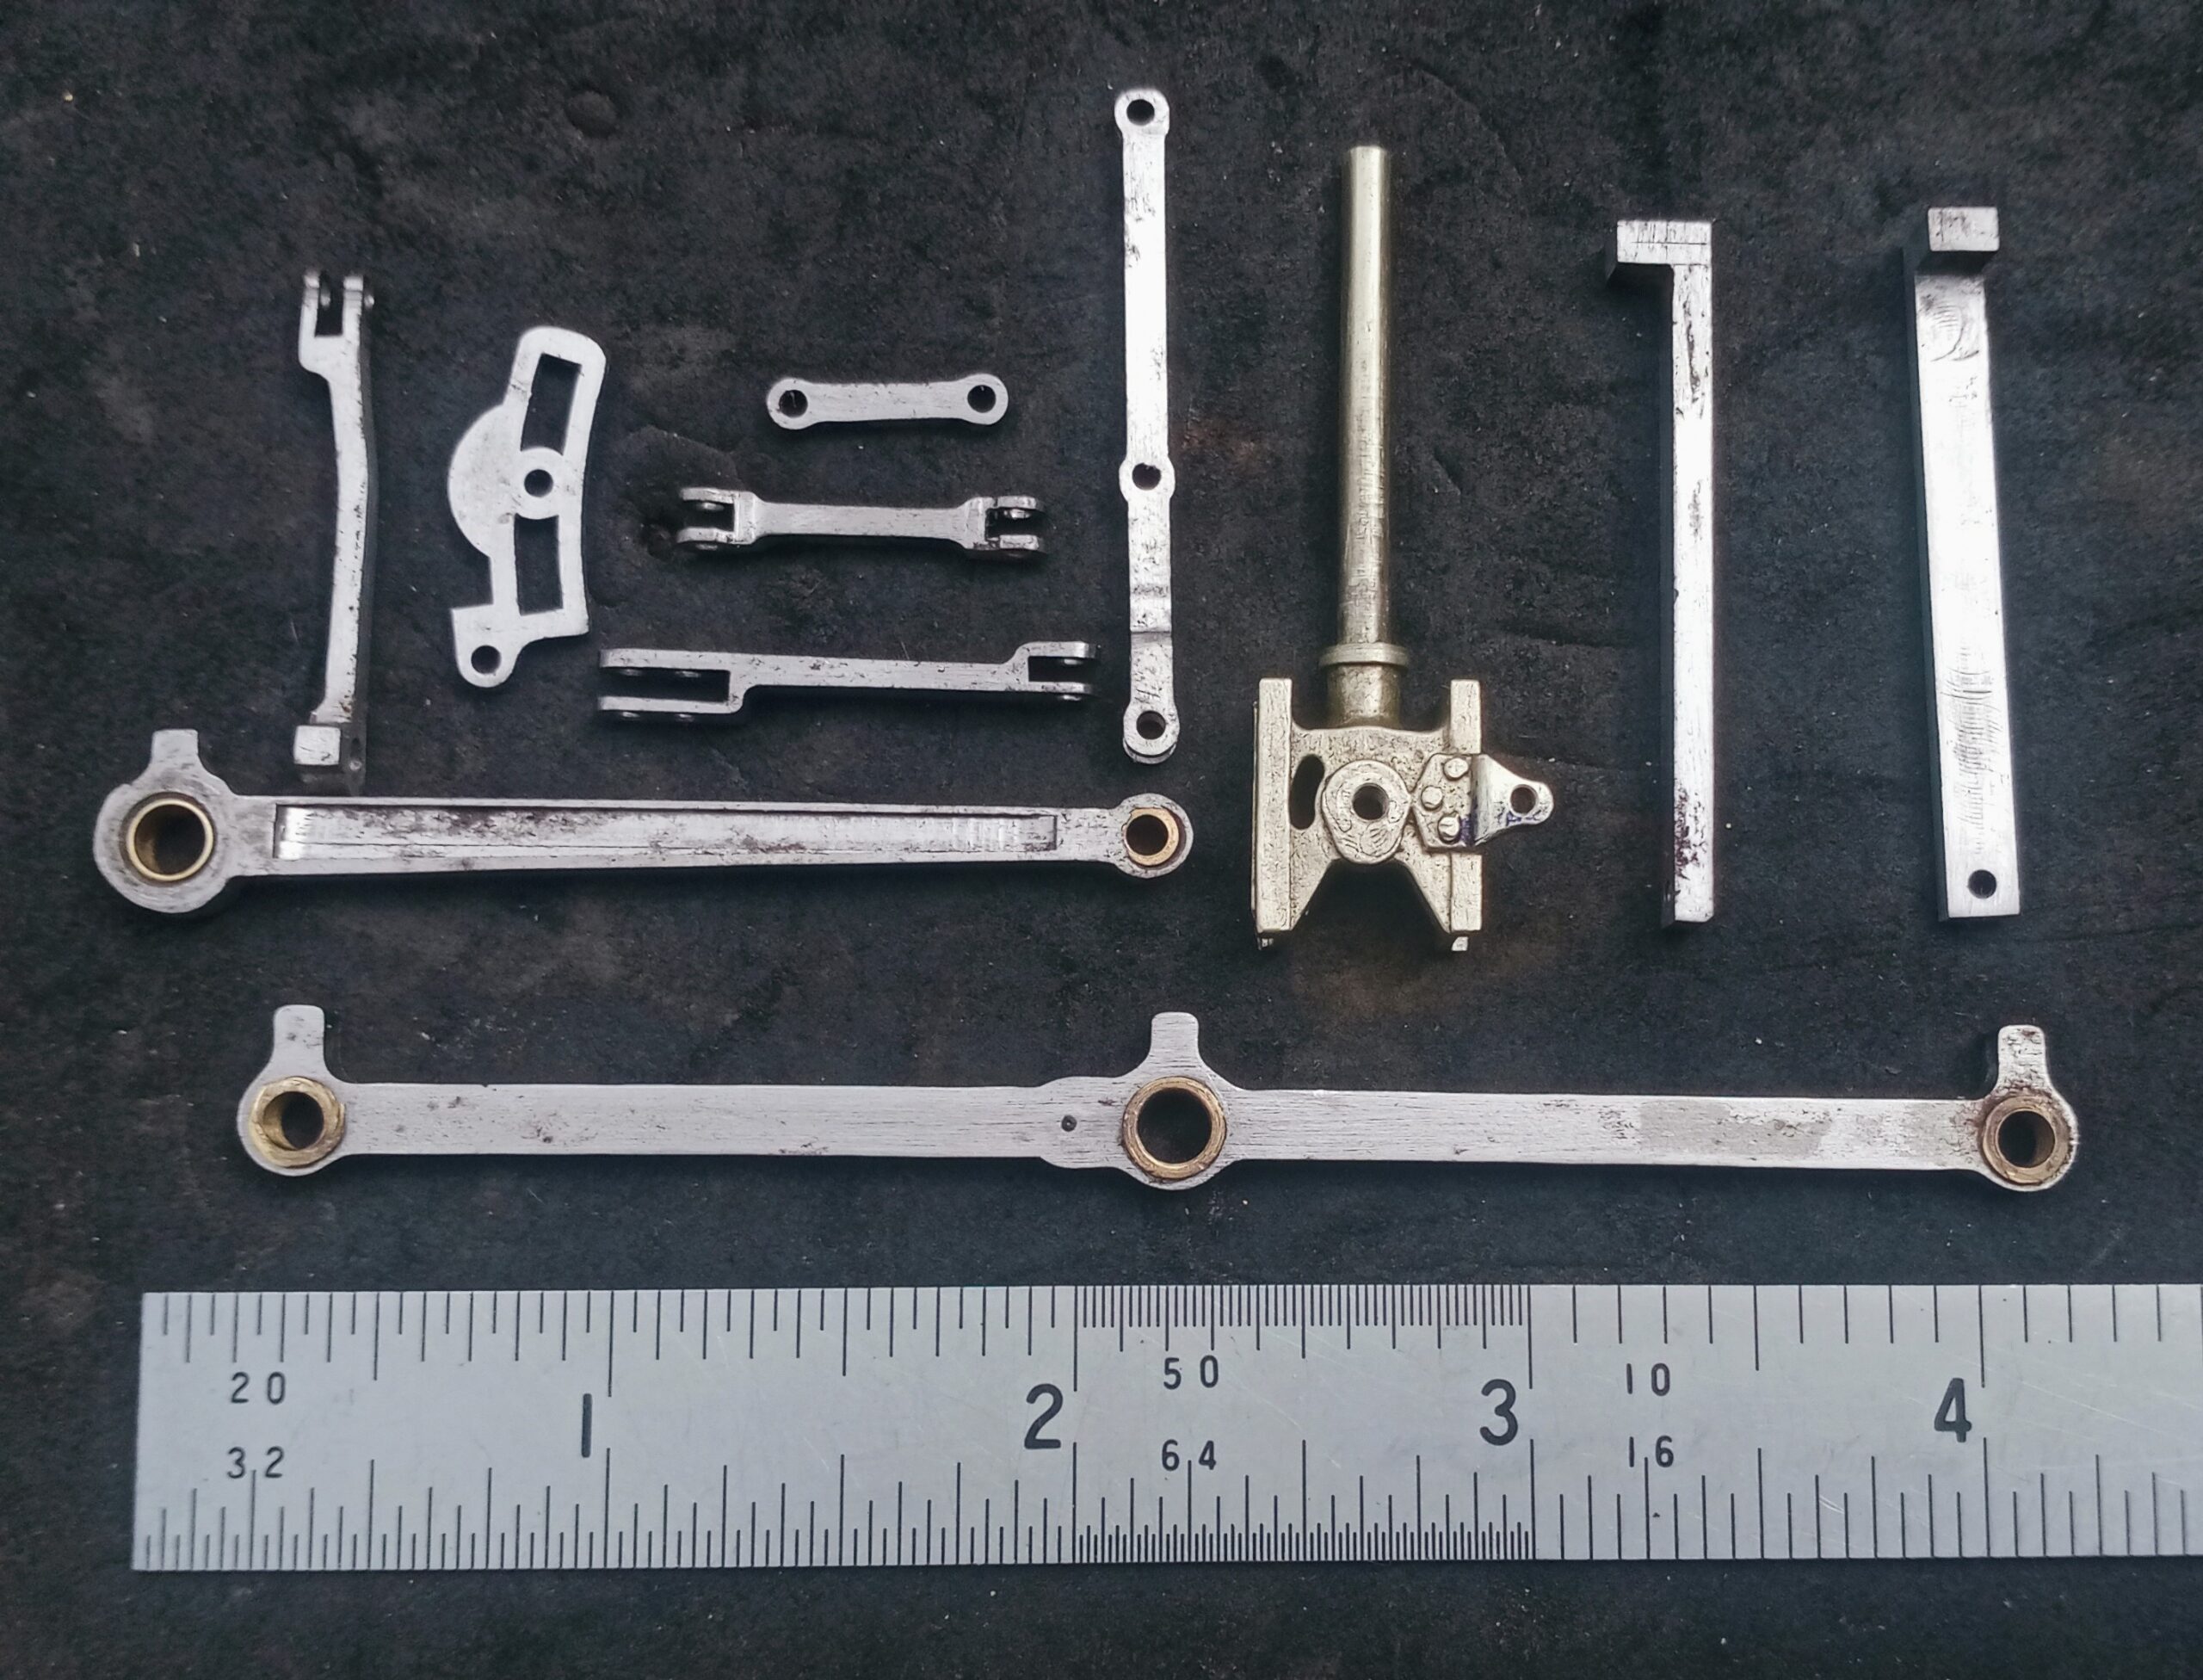
The Valve Gear Motion Parts Before Painting
This photo at the top of the page and repeated below, shows the valve gear motion parts for the Gauge 1 LMS 2F Tank Engine model after machining and cleaning up.
They had quite a bit of rust on them before final cleaning. Cleaning was by 320 grit wet or dry carbide paper and wire wool,
The file and machining marks are quite evident.
Please be aware of the vey small size of these components, not at all easy to get a good finish. Usage of any kind of power tool is out of the question because the parts are so small.
As Machined Finish of Gauge 1 LMS 2F Tank Loco Valve Gear
Now we can see the same valve gear components after painting. The paint used was a spray can of barbeque paint, colour silver. This was sprayed directly onto the bare steel with no primer or undercoat applied. After spraying and air drying the parts were baked in the domestic oven at 250 C for half an hour.
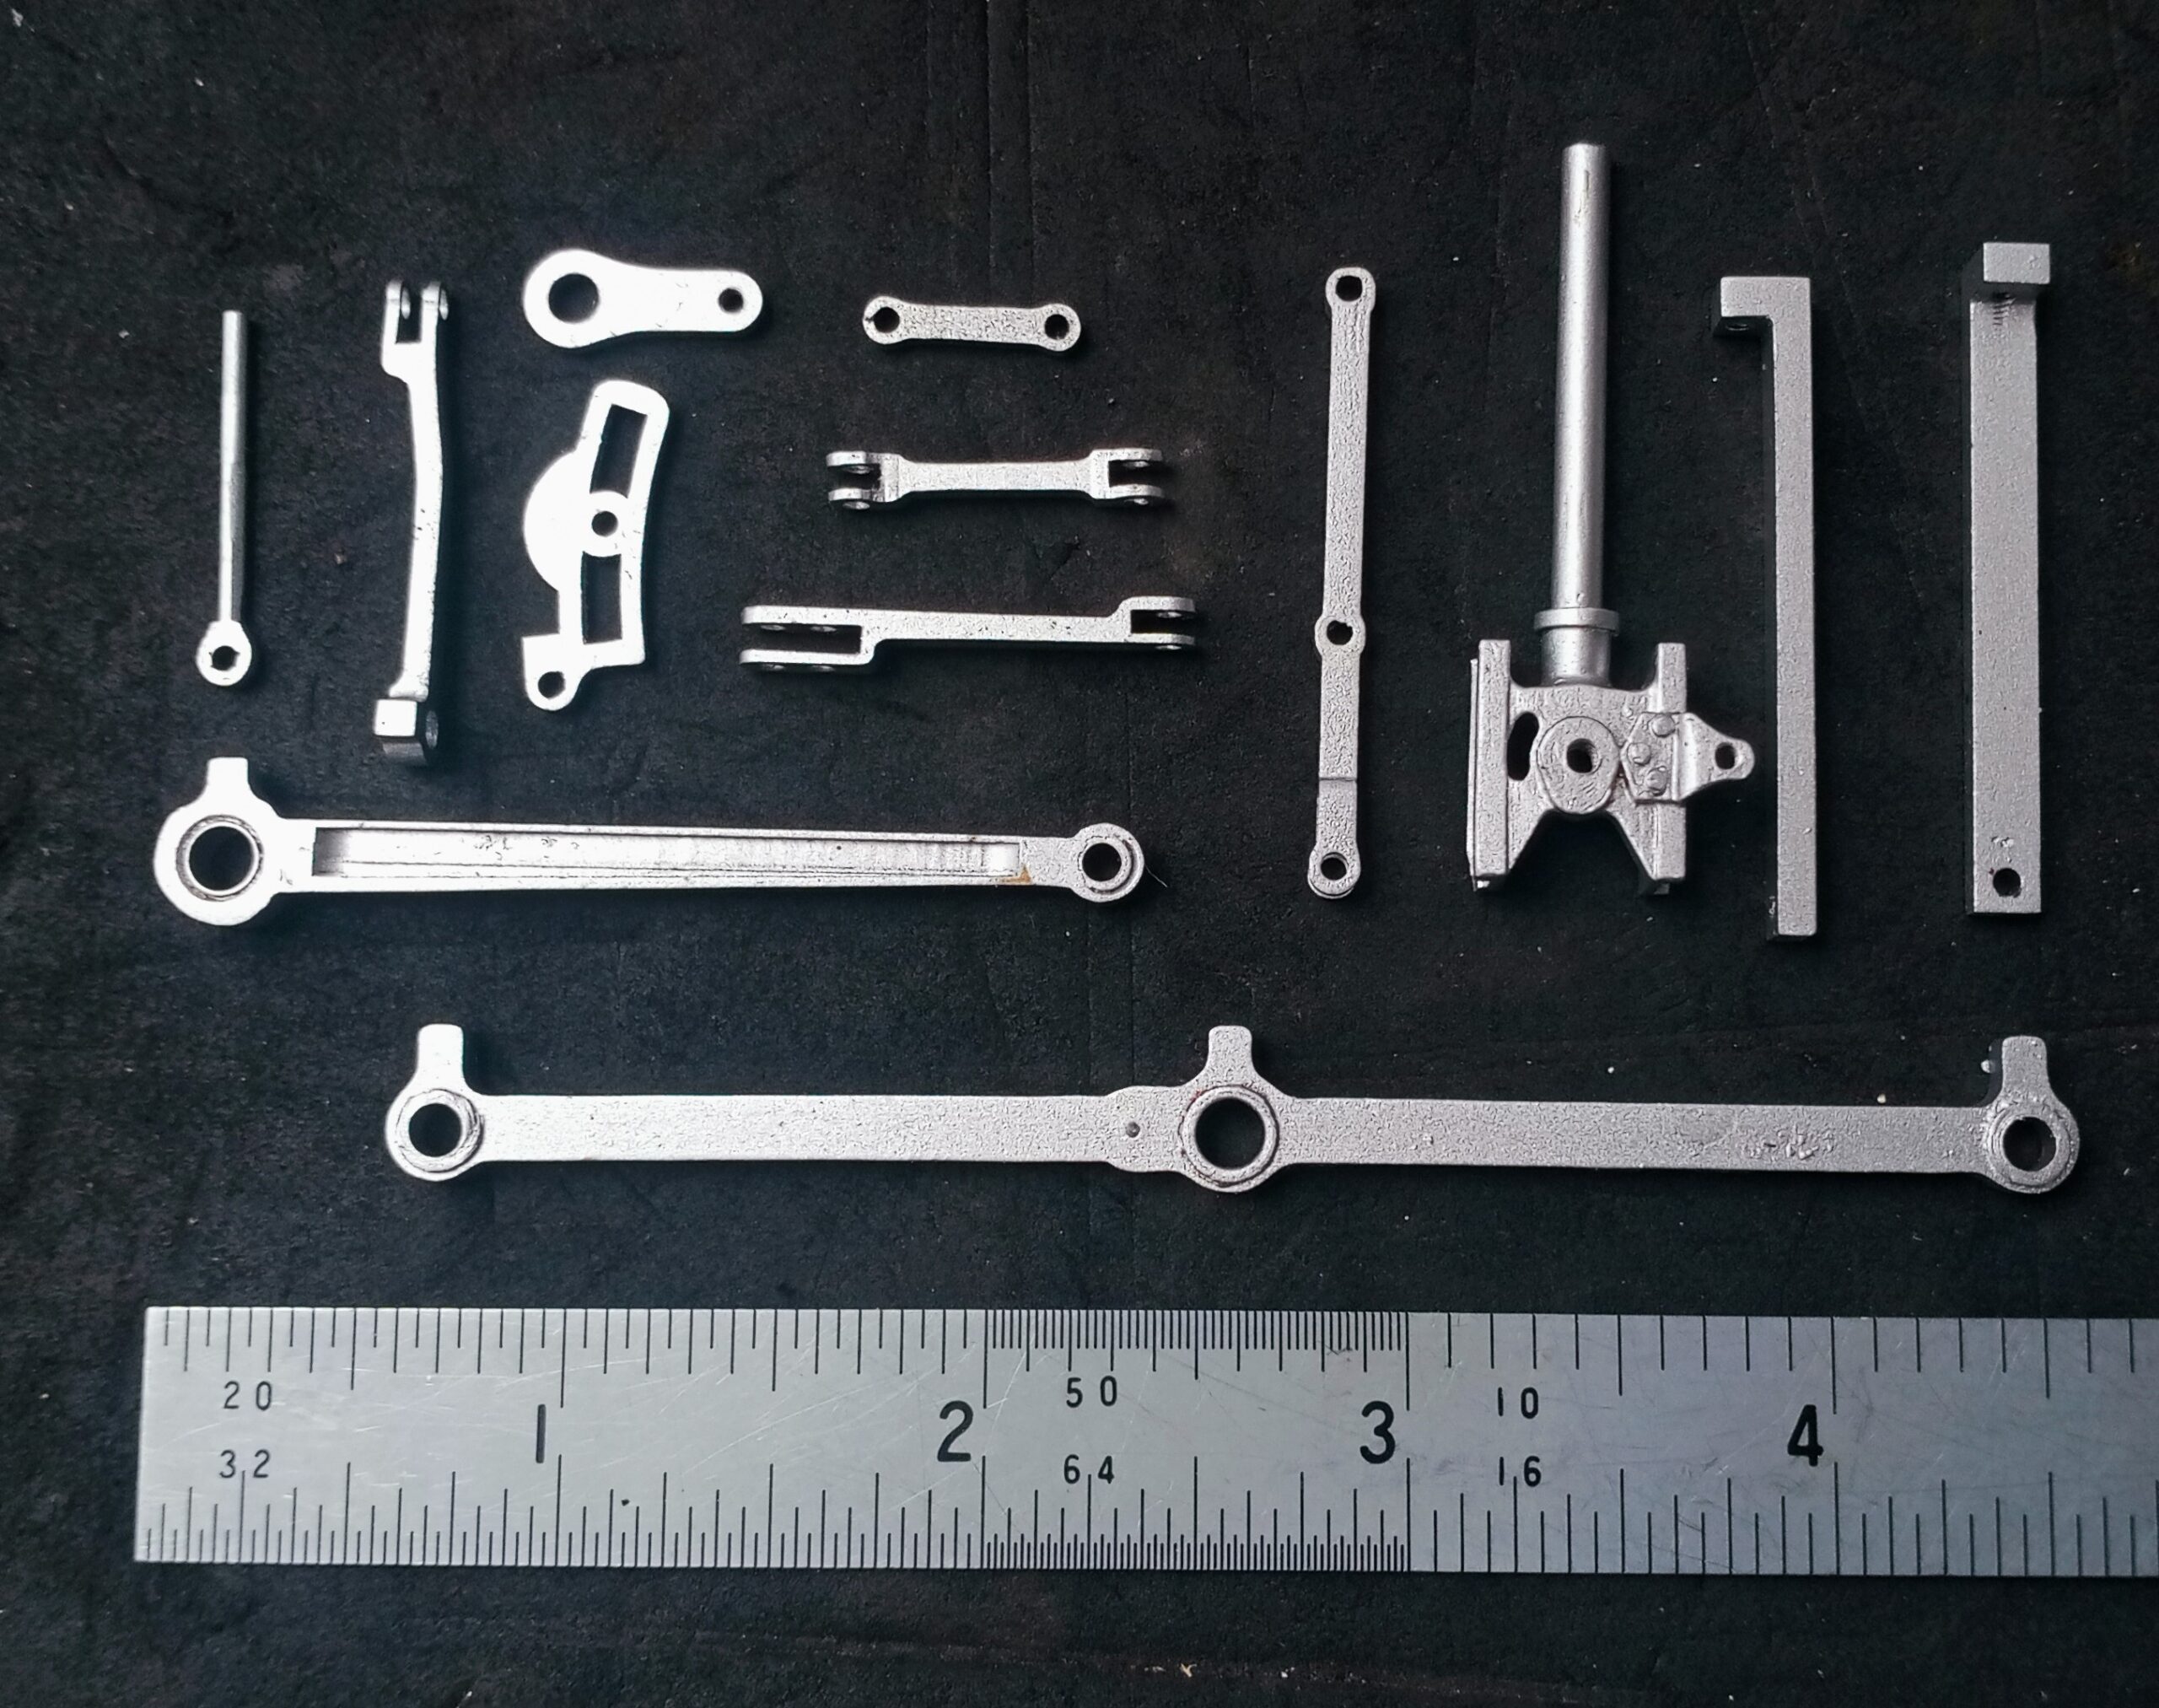
Gauge 1 LMS 2F Tank Loco Valve Gear After Painting
I think you’ll agree that the parts look better because the the silver is a good colour match for bright steel and because the paint hides some of the machining and filing marks I was unable to remove.
Before And After Painting Valve Gear Motion Parts On The Engine
Below are the before painting and after painting photos of the valve gear motion assembled on the actual model:-
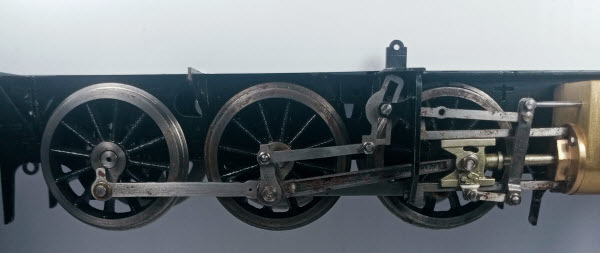
Gauge 1 LMS 2F Valve Gear Assembled Before Painting
Gauge 1 LMS 2F Valve Gear Assembled Before Painting
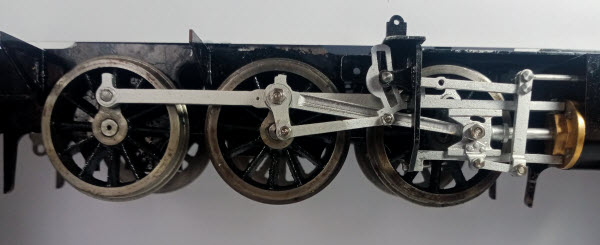
I don’t think the silver paint detracts from the appearance at all. What do you think? please leave your comments below.
Other Advantages Of Painting Gauge 1 Model Loco Valve Gear Parts
I discovered these further advantages during reassembly after painting my Gauge 1 model loco engine (Gauge 1 model of the Fowler LMS 2F Dockside Tank, 0-6-0 at 3/8″ to the foot scale) valve gear parts:-
- If the threadlocker used to secure the various small 10BA screws and nuts happened to spread to motion parts other than the screws and nuts, as it did on one occasion, the threadlocker only adhered to the paint, not the metal part. It was therefore much easier to separate the parts than if the threadlocker has stuck to the metal itself.
Of course, separating the parts and removal of the threadlocker by an abrasive paper revealed bare metal again and this had to be repainted. Quite easy with a small modellers paintbrush.
By the way, I used the weakest grade on Loctite for these small parts, Loctite 222. I was relieved to find that after curing for 12 hours overnight it was not difficult to unscrew a Loctited nut. I was concerned that the bond would be too strong, but it was O.K. - Easy to repaint in situ.
In addition to needing to repaint some metal surfaces of the valve gear parts as mentioned above there was another reason that some repainting was necessary.
Of course, the original painted finish had added to the thickness of the parts and now some of the flat sided rods became an overtight fit in their respective clevises, necessitating paint removal by abrasive paper.
As mentioned above, though, it was very quick and simple to repaint using a modeller’s paintbrush.
In fact it now becomes a simple matter to restore the painted finish at any time if the original finish becomes, stained, scratched or othwerise marred during use of the engine.